上一篇貼文少了「啟用Google Drive API」這個步驟,若想要讓專案裡的服務帳戶執行Google Drive雲端硬碟的API,必須啟用它。
啟用Google Drive API
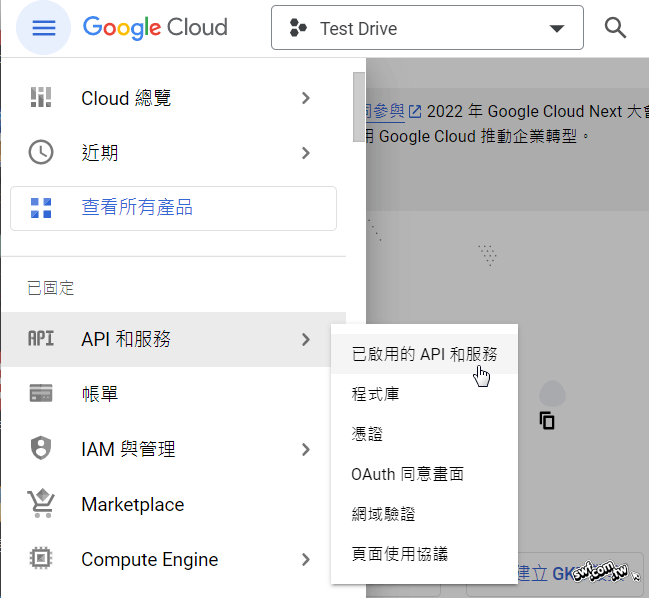
回到Google Cloud雲端平台的控制台,按一下頁面左上角、Google Cloud標誌旁邊的主選單,點擊「API和服務」→「已啟用的API和服務」。
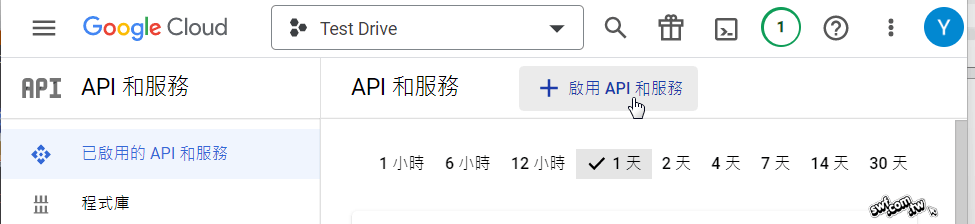
點擊畫面上方的「啟用API和服務」。
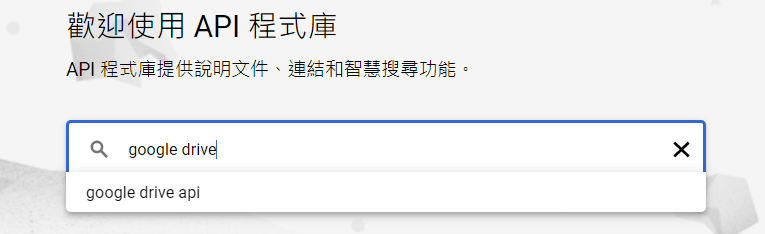
在搜尋欄位輸入“google drive”關鍵字,找出Google雲端硬碟的API服務。
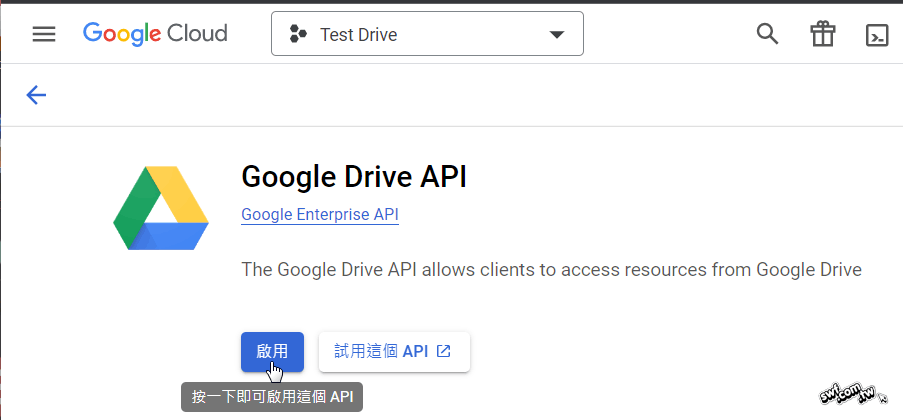
點擊找到的Google Drive API。
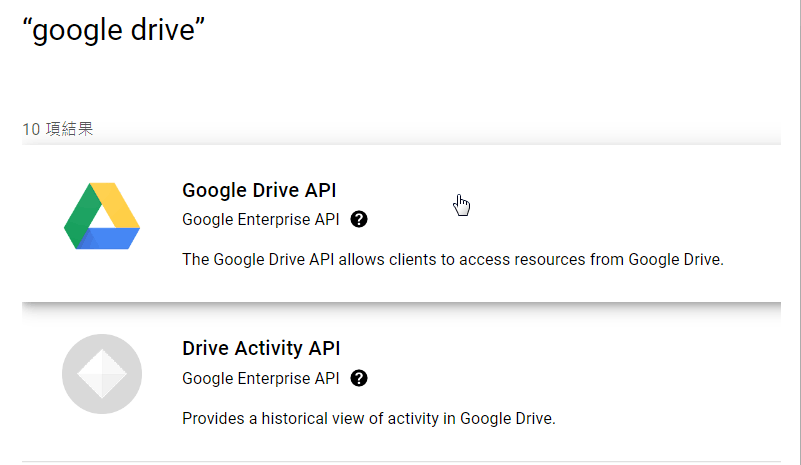
進入Google Drive API服務畫面後,點擊「啟用」。過一會兒,等它切換頁面就啟用成功,這個網頁也就可以關閉了。
設定Google Drive雲端硬碟的共用資料夾
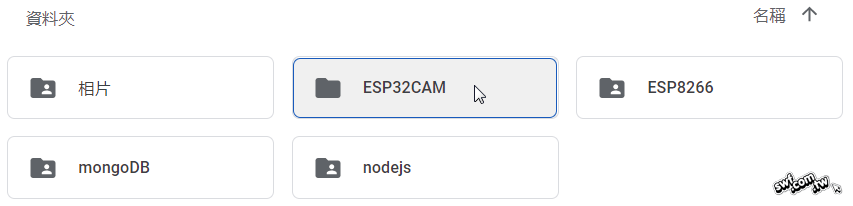
進入Google雲端硬碟,新增一個即將用來儲存Python程式上傳影像的資料夾,筆者將它命名為ESP32CAM。
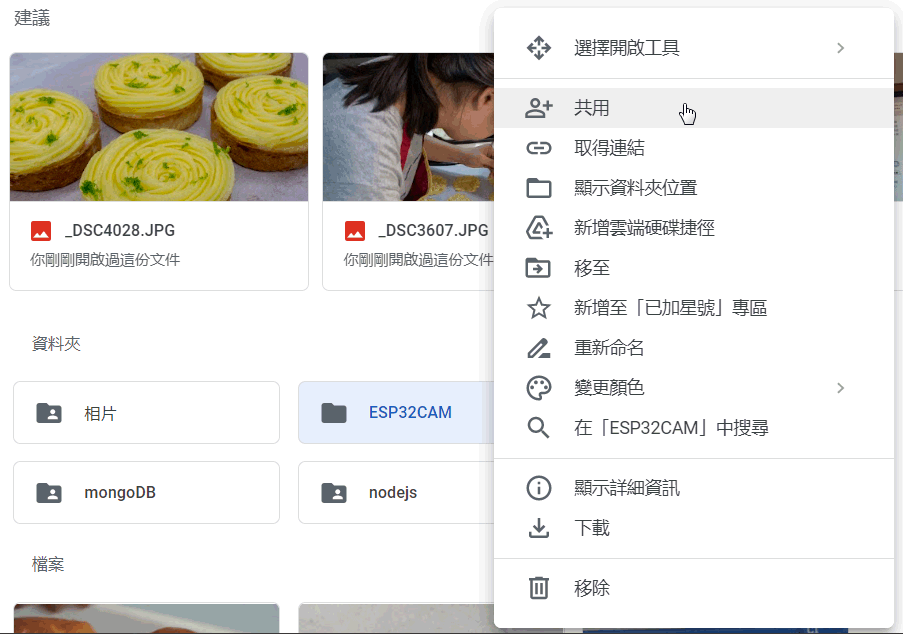
在資料夾上按右鍵,選擇「共用」。
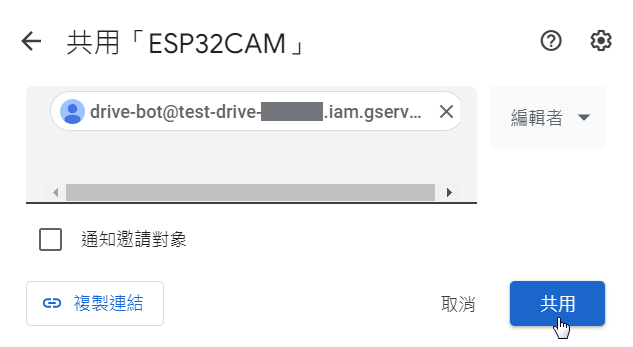
在「新增使用者和群組」欄位貼入之前在Google雲端平台新增服務帳戶的e-mail。
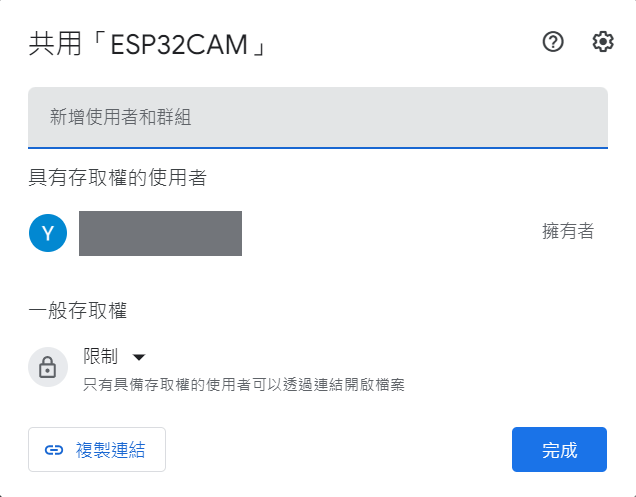
取消「通知邀請對象」,確認欄位右邊的存取權設定成「編輯者」,這個帳戶才能上傳檔案到此資料夾。按下「共用」完成設定
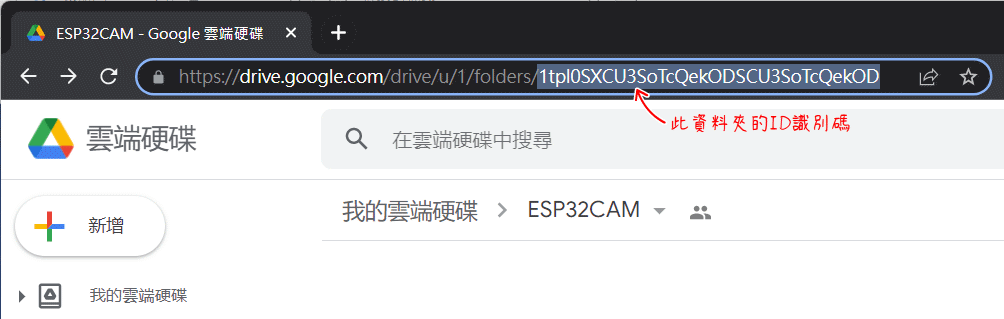
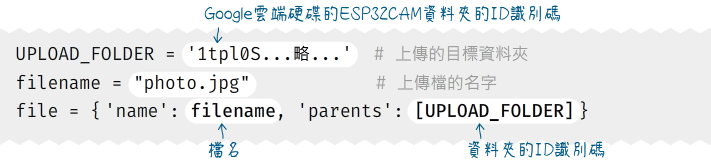
雲端硬碟的「資料夾名稱」是給人類看的,名稱可以重複,每個資料夾和文件都有個唯一的ID識別碼;程式透過ID識別碼存取雲端硬碟資料夾。取得資料夾ID最簡單的方法:打開該資料夾,網址“folders/”後面的一連串文字就是它的ID,請將它複製下來備用。
上傳影像檔到Google Drive雲端硬碟的Python程式
筆者在電腦的D磁碟根目錄底下,新增一個“google_drive”資料夾,在其中設定Python虛擬環境。此虛擬環境的src資料夾包含三個檔案,app.py是上傳影像到Google雲端硬碟的Python程式檔。跟書本的範例一樣,筆者把服務帳戶金鑰的.json檔重新命名為google_auth.json,存入src資料夾。
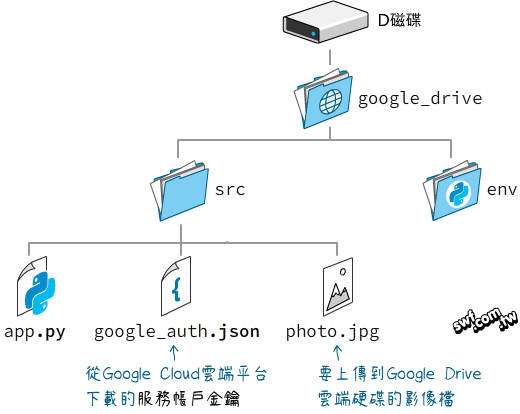
這個Python程式的功能很單純:把相同路徑裡的photo.jpg上傳到Google雲端硬碟的“ESP32CAM”資料夾。
先在此虛擬環境中執行pip命令安裝Google API的程式庫:
pip install google-api-python-client --upgrade
使用Google API Python Client驗證服務帳戶與上傳檔案
第7章的存取Google試算表的範例程式,採用oauth2client(OAuth驗證前端)模組處理金鑰憑證檔案,本文改用Google自家的API Python用戶端程式庫(Google API Python Client)。
先在程式開頭引用三個Google API模組,它們分別用於:
- 驗證服務帳戶(service_account)
- 建立用於操作雲端服務的服務(service)物件
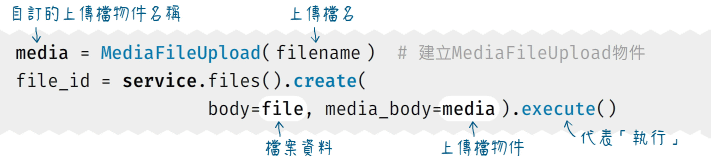
- 上傳媒體檔案(MediaFileUpload)
它們也正好代表上傳檔案到Google雲端硬碟的三大處理流程。
from google.oauth2 import service_account
from googleapiclient.discovery import build
from googleapiclient.http import  MediaFileUpload
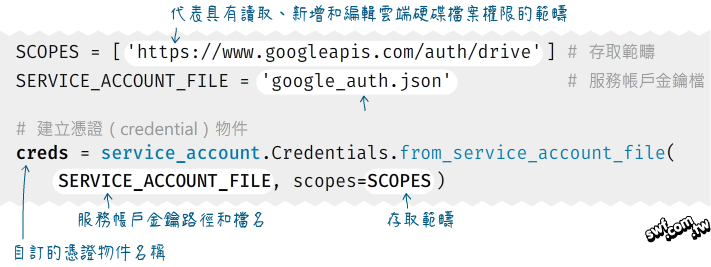
驗證服務帳戶、建立憑證(credential)物件的程式片段如下,其中的服務範疇(scope)字串是網址形式,Google Drive API第三版的所有服務範疇名稱,請參閱這個Drive API, v3列表。
有了憑證物件,便可透過build函式產生服務物件,它接收3個參數,這個程式採用Google Drive, v3版,所以前兩個參數值分別是“drive”和“v3”。

上傳檔案之前,先定義一些變數,儲存資料夾和檔案的相關資料:
上傳檔案要包裝成MediaFileUpload物件,再交給服務(service)物件的create(代表「建立檔案」)方法,在Google雲端硬碟建立檔案。
執行上面的程式片段,photo.jpg檔旋即被上傳到雲端硬碟的ESP32CAM資料夾,上傳完畢後,file_id將接收到類似底下內容的字典型態資料,其中的id是Google雲端硬碟指派給這個上傳檔的ID識別名稱。
{ 'kind': 'drive#file', 'id': '1bsKRc3…略…', 'name': 'photo.jpg', 'mimeType': 'image/jpeg'}
完整的上傳檔案範例app.py檔的程式碼如下:
from google.oauth2 import service_account
from googleapiclient.discovery import build
from googleapiclient.http import MediaFileUpload

UPLOAD_FOLDER = '請輸入你的上傳檔資料夾的ID'
SCOPES = ['https://www.googleapis.com/auth/drive']
SERVICE_ACCOUNT_FILE = 'google_auth.json'  # 金鑰檔案

# 建立憑證物件
creds = service_account.Credentials.from_service_account_file(
    SERVICE_ACCOUNT_FILE, scopes=SCOPES)

service = build('drive', 'v3', credentials=creds)

filename = "photo.jpg"    # 上傳檔的名字
media = MediaFileUpload(filename)
file = {'name': filename, 'parents': [UPLOAD_FOLDER]}

print("正在上傳檔案...")
file_id = service.files().create(body=file, media_body=media).execute()
print('雲端檔案ID:' + str(file_id['id']))