DIY a LEGO micro SD card reader for Samsung Galaxy Tab
Editor: Jim kajpust
The first generation of the Samsung Galaxy Tab series don’t have a microSD slot. Although the Galaxy Tab provides an USB On-The-Go (OTG) function for users to connect USB joypad, keyboard ,mouse, thumb drive,… But it equip a custom 30 pins serial data connector, so the users have to buy a special 30pin to USB port connector to connect USB devices.
Here is the pinout of the 30 pins connector (image courtesy of Droid Angel):

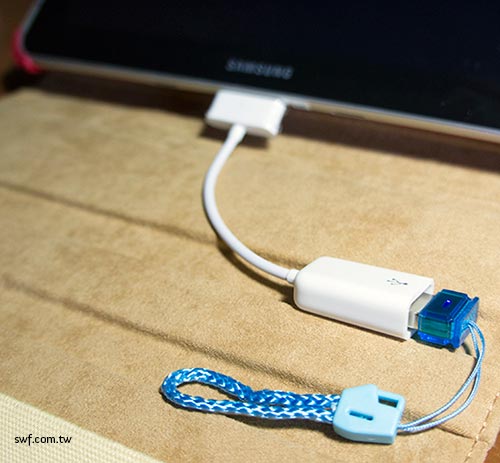
Below is the USB OTG cable for Samsung Galaxy Tab, attached a tiny USB micro SD card reader:
And a picture of a 5-in-1 USB memory card reader for Galaxy Tab:

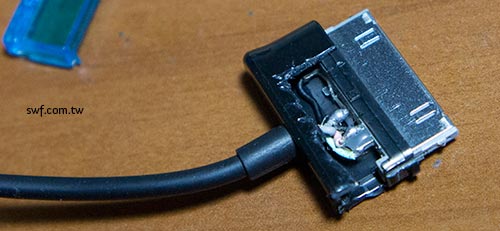
I don’t like the design of those cables, all I need is a small memory card reader after all. So I took apart of those cables. Here is the inside look of a Galaxy Tab USB charging cable:
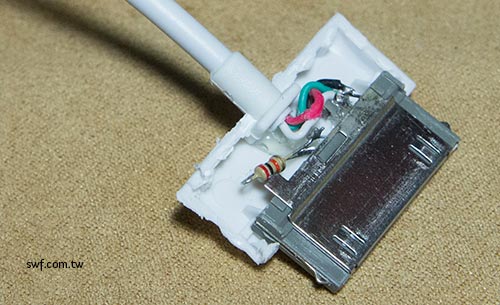
And here is an inner view of an USB OTG cable, there is a 20KΩ resistor solder on pin 13 and 15.
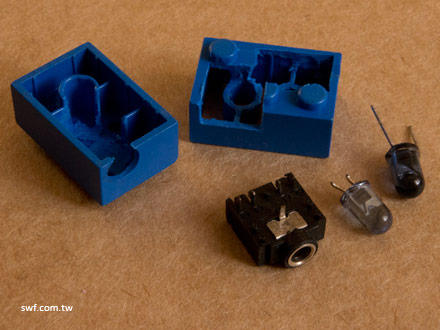
Tiny USB micro SD card reader disassembled
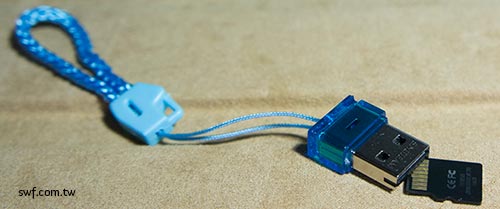
This is the most tiny USB micro SD card reader that I could find on local market:
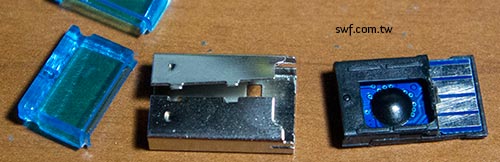
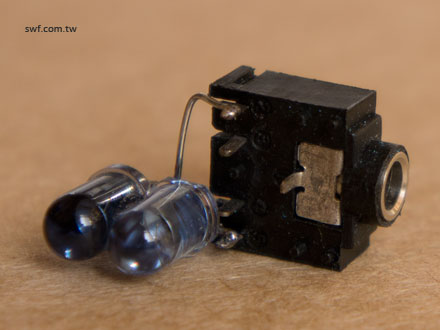
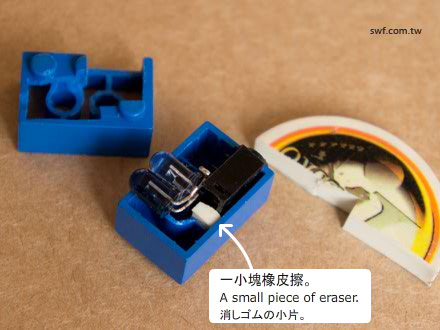
The inside look of the tiny micro SD card reader:
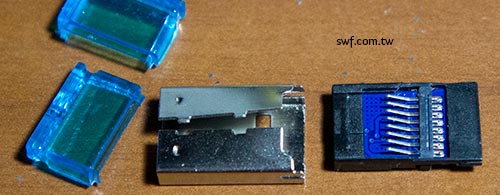
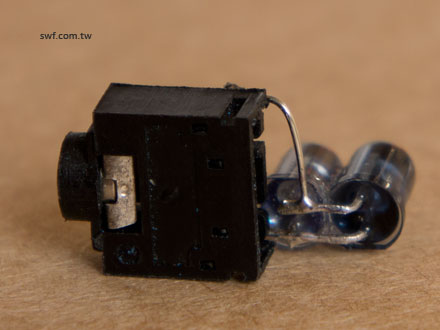
And the other side:
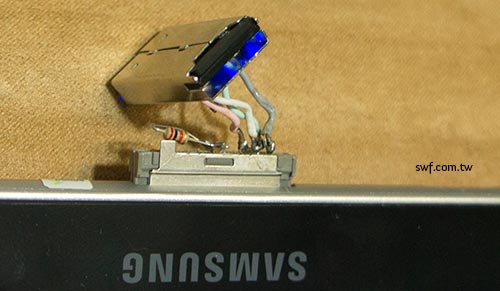
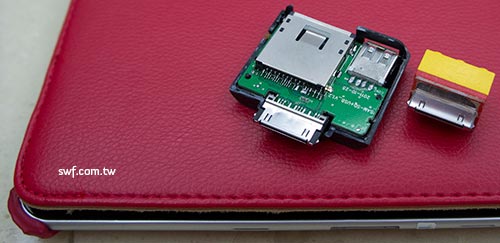
I desolder the 30 pins USB OTG connector, and soldered it with the tiny USB micro SD card reader. It works!
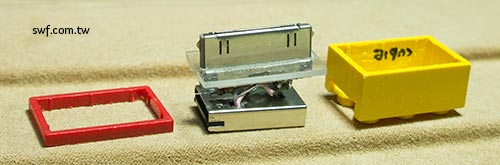
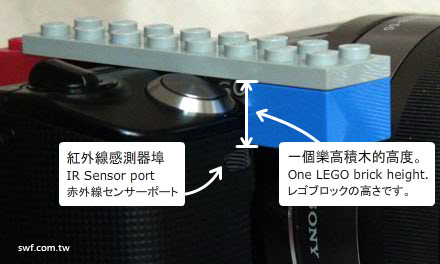
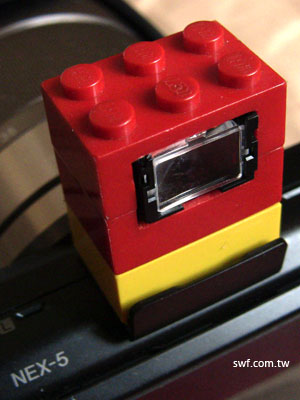
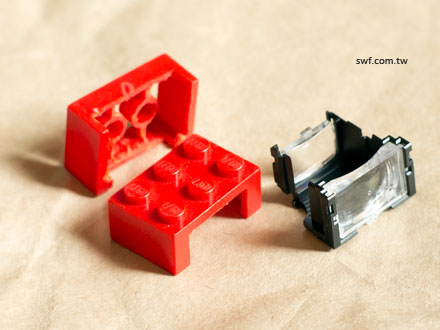
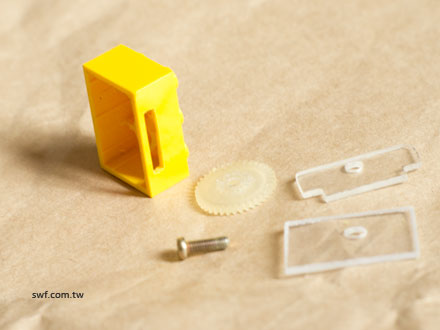
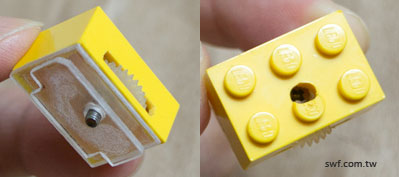
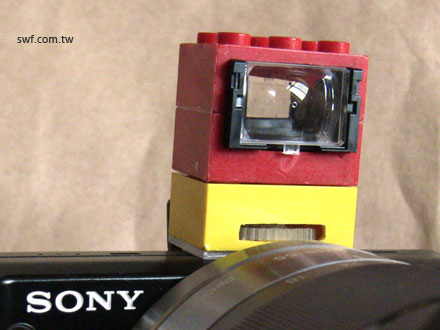
Then, I hollowed out a yellow LEGO brick, but I soon I found the height of the components are 2 mm higher than a LEGO, therefore, I cut a 2 mm height red LEGO brick.
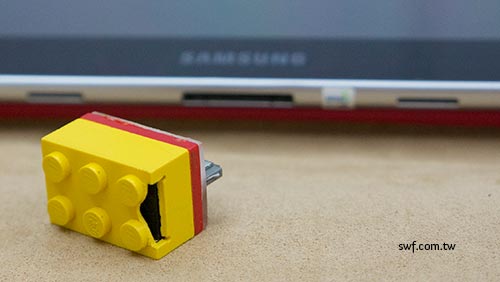
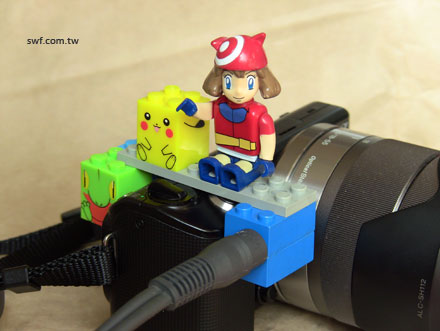
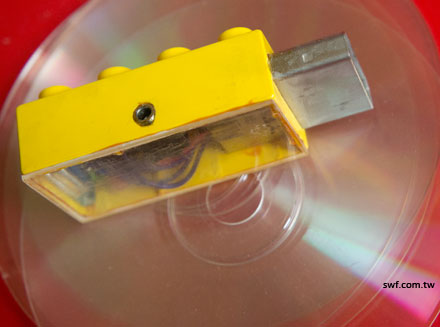
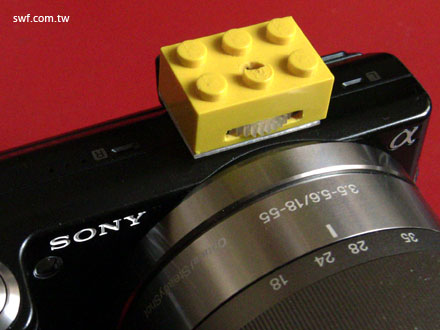
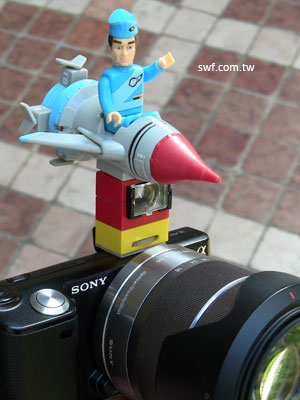
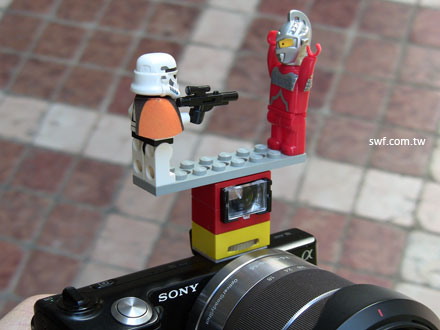
Here is the final look of the LEGO micro SD card reader for Samsung Galaxy Tab:
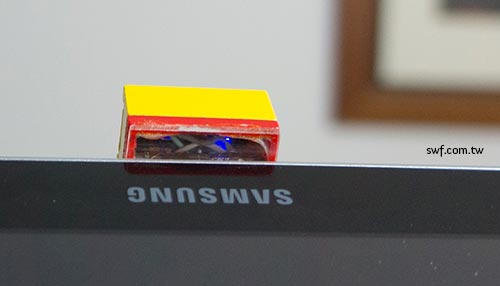
The thin blue light come out from the bottom.
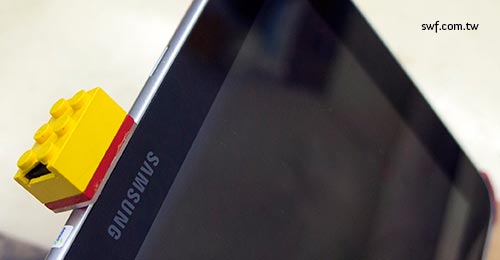
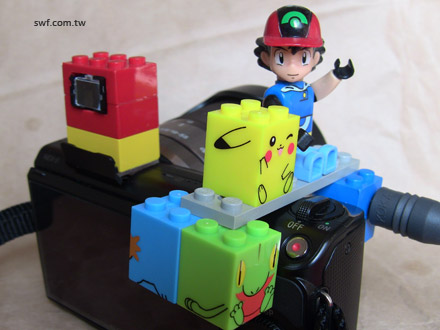
The top view:
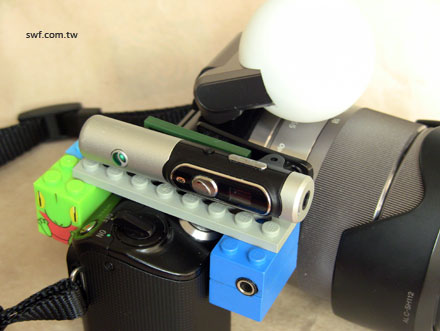
Compare its size with a 5-in-1 USB memory card reader:

Reply